Follow these steps to install Claude Cowork and set it up to run agentic tasks securely. When you finish, Claude can run autonomous, multi-step tasks across your local files and web-based tools.
Before you start, you need an active paid Claude subscription — Pro, Max, Team, or Enterprise and a supported operating system: macOS 11+, Windows 10+, or a Linux distribution (Ubuntu 22.04 LTS+ or Debian 12+) on x64 or arm64.

Step 1 — Download and install the Claude app
Pick the path for your operating system and skip the others.
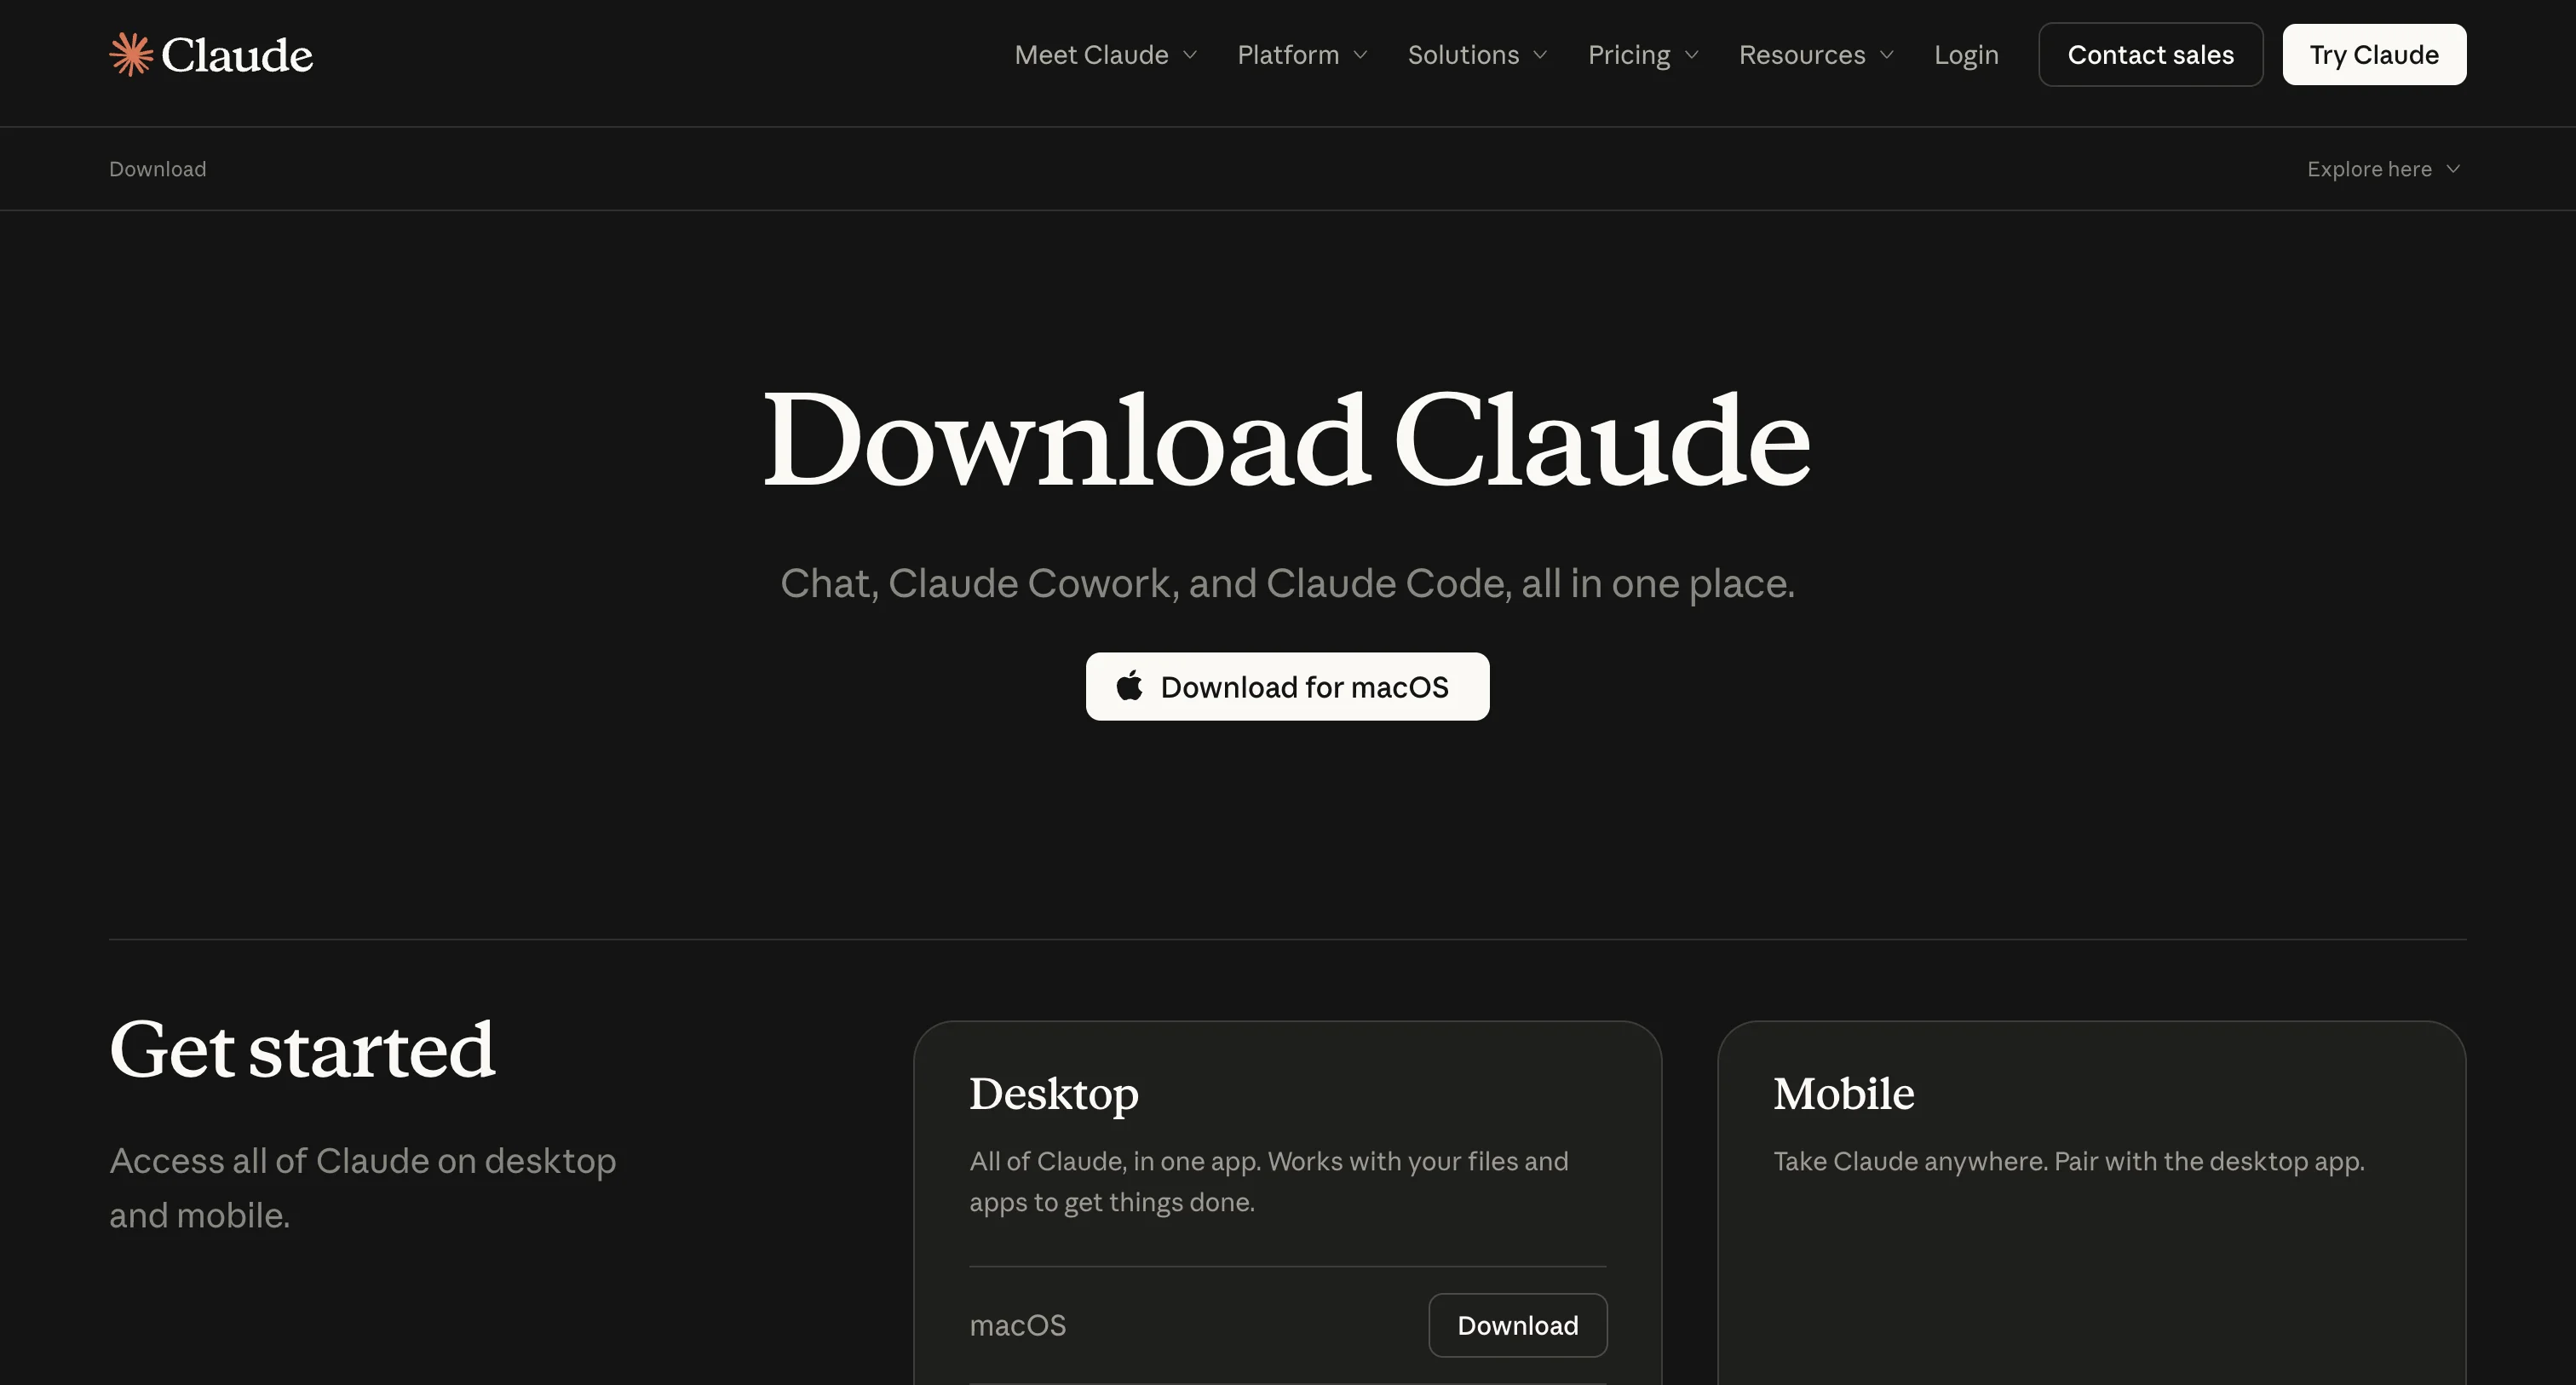
macOS
Download the installer from the official Claude downloads page. Open the DMG file and drag the Claude icon into the Applications folder. Then open Claude to finish setting up.
Windows
Download the Windows installer from the official Claude downloads page. Run the .exe file and stay online while it downloads the rest. You need Windows 10 or later.
Linux
Install from the terminal so you get updates through the repository. You need hardware virtualization (KVM) enabled in the UEFI/BIOS and your user in the kvm group; run sudo usermod -aG kvm $USER, then log out to apply the change. Claude Cowork needs 25 GB of disk space and at least 8 GB of RAM, which is a lot to hand over for something you open like a chat window, but hardware virtualization means there is a real virtual machine underneath, and it has to live somewhere.
Run these commands to configure the apt repository and install the binary:
sudo curl -fsSLo /usr/share/keyrings/claude-desktop-archive-keyring.asc https://downloads.claude.ai/claude-desktop/key.asc
echo "deb [signed-by=/usr/share/keyrings/claude-desktop-archive-keyring.asc] https://downloads.claude.ai/claude-desktop/apt/stable stable main" | sudo tee /etc/apt/sources.list.d/claude-desktop.list
sudo apt update && sudo apt install claude-desktop
Run gpg --show-keys /usr/share/keyrings/claude-desktop-archive-keyring.asc and confirm the output matches 31DD DE24 DDFA B679 F42D 7BD2 BAA9 29FF 1A7E CACE.
Step 2 — Sign in and finish first-run setup
Open Claude and click "Get Started." Sign in with the Google account or email address tied to your paid plan. Enable or disable the global keyboard shortcut and the menu bar launcher when prompted.
Step 3 — Open Cowork and confirm your account can use it
At the top of the left sidebar, click "Cowork" in the Chat / Cowork / Code switcher. If Cowork is there and a new task view opens with sample tasks, your account has access and Claude recognizes your paid plan.
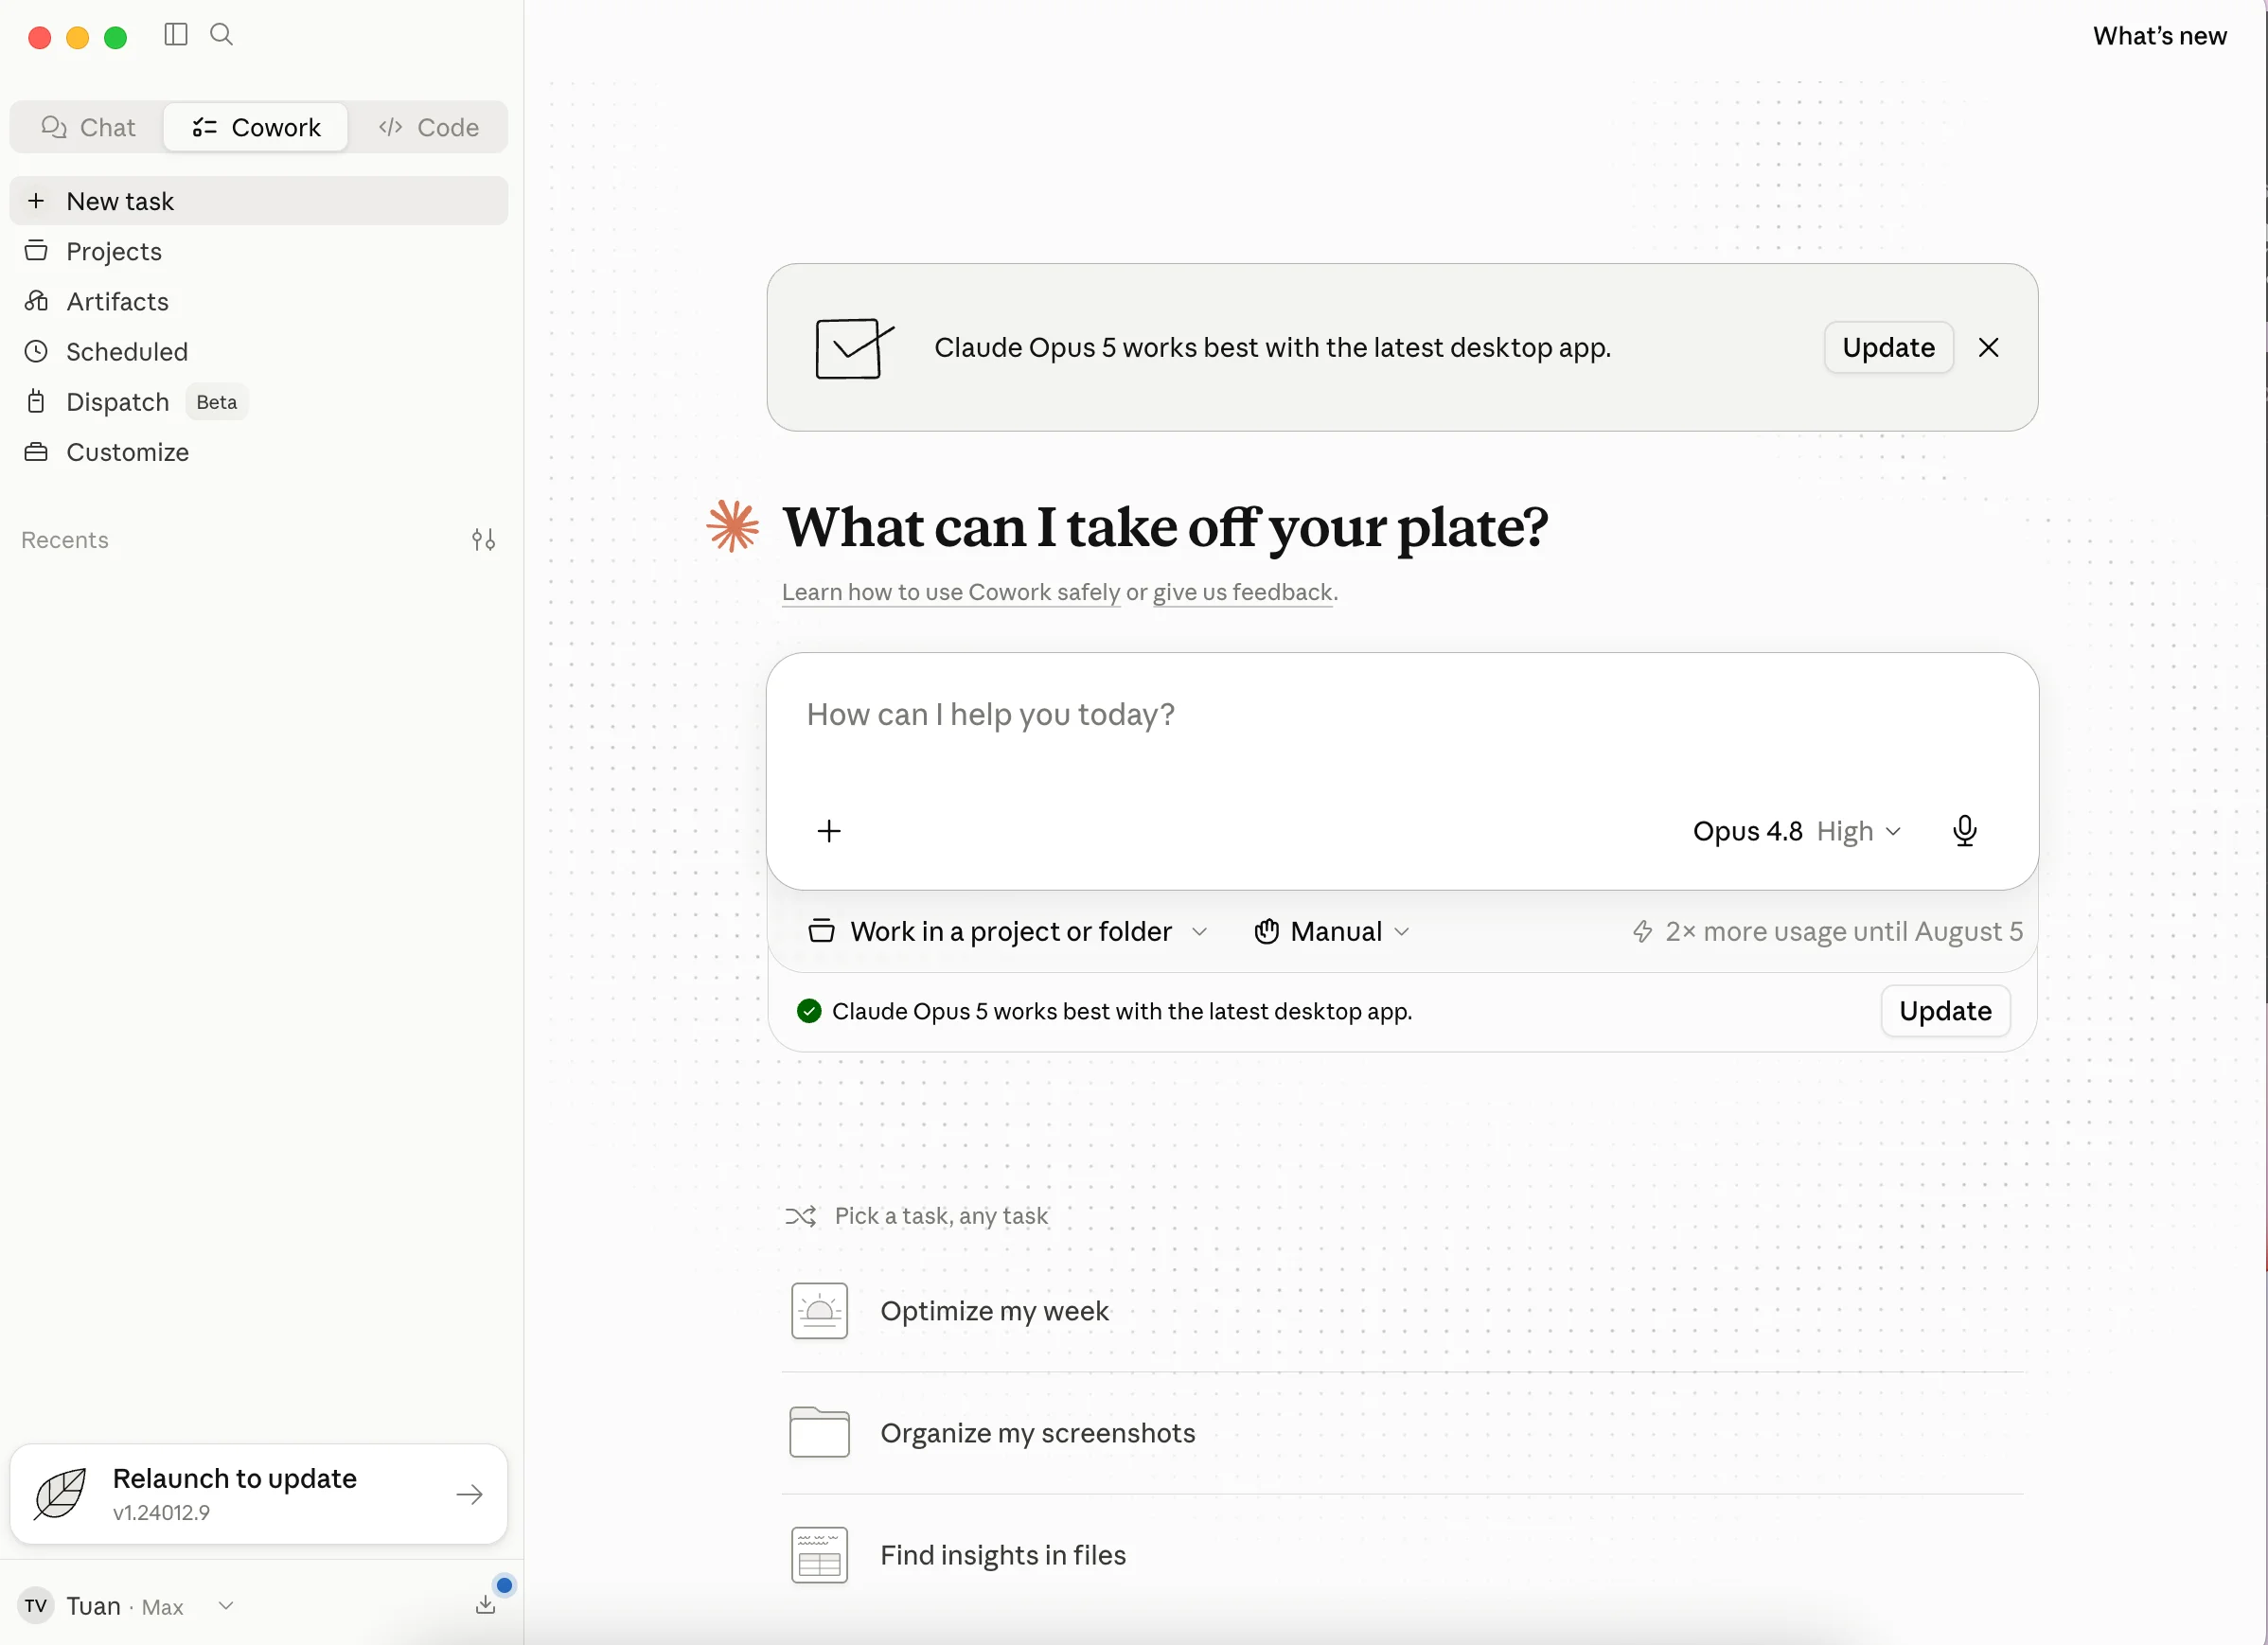
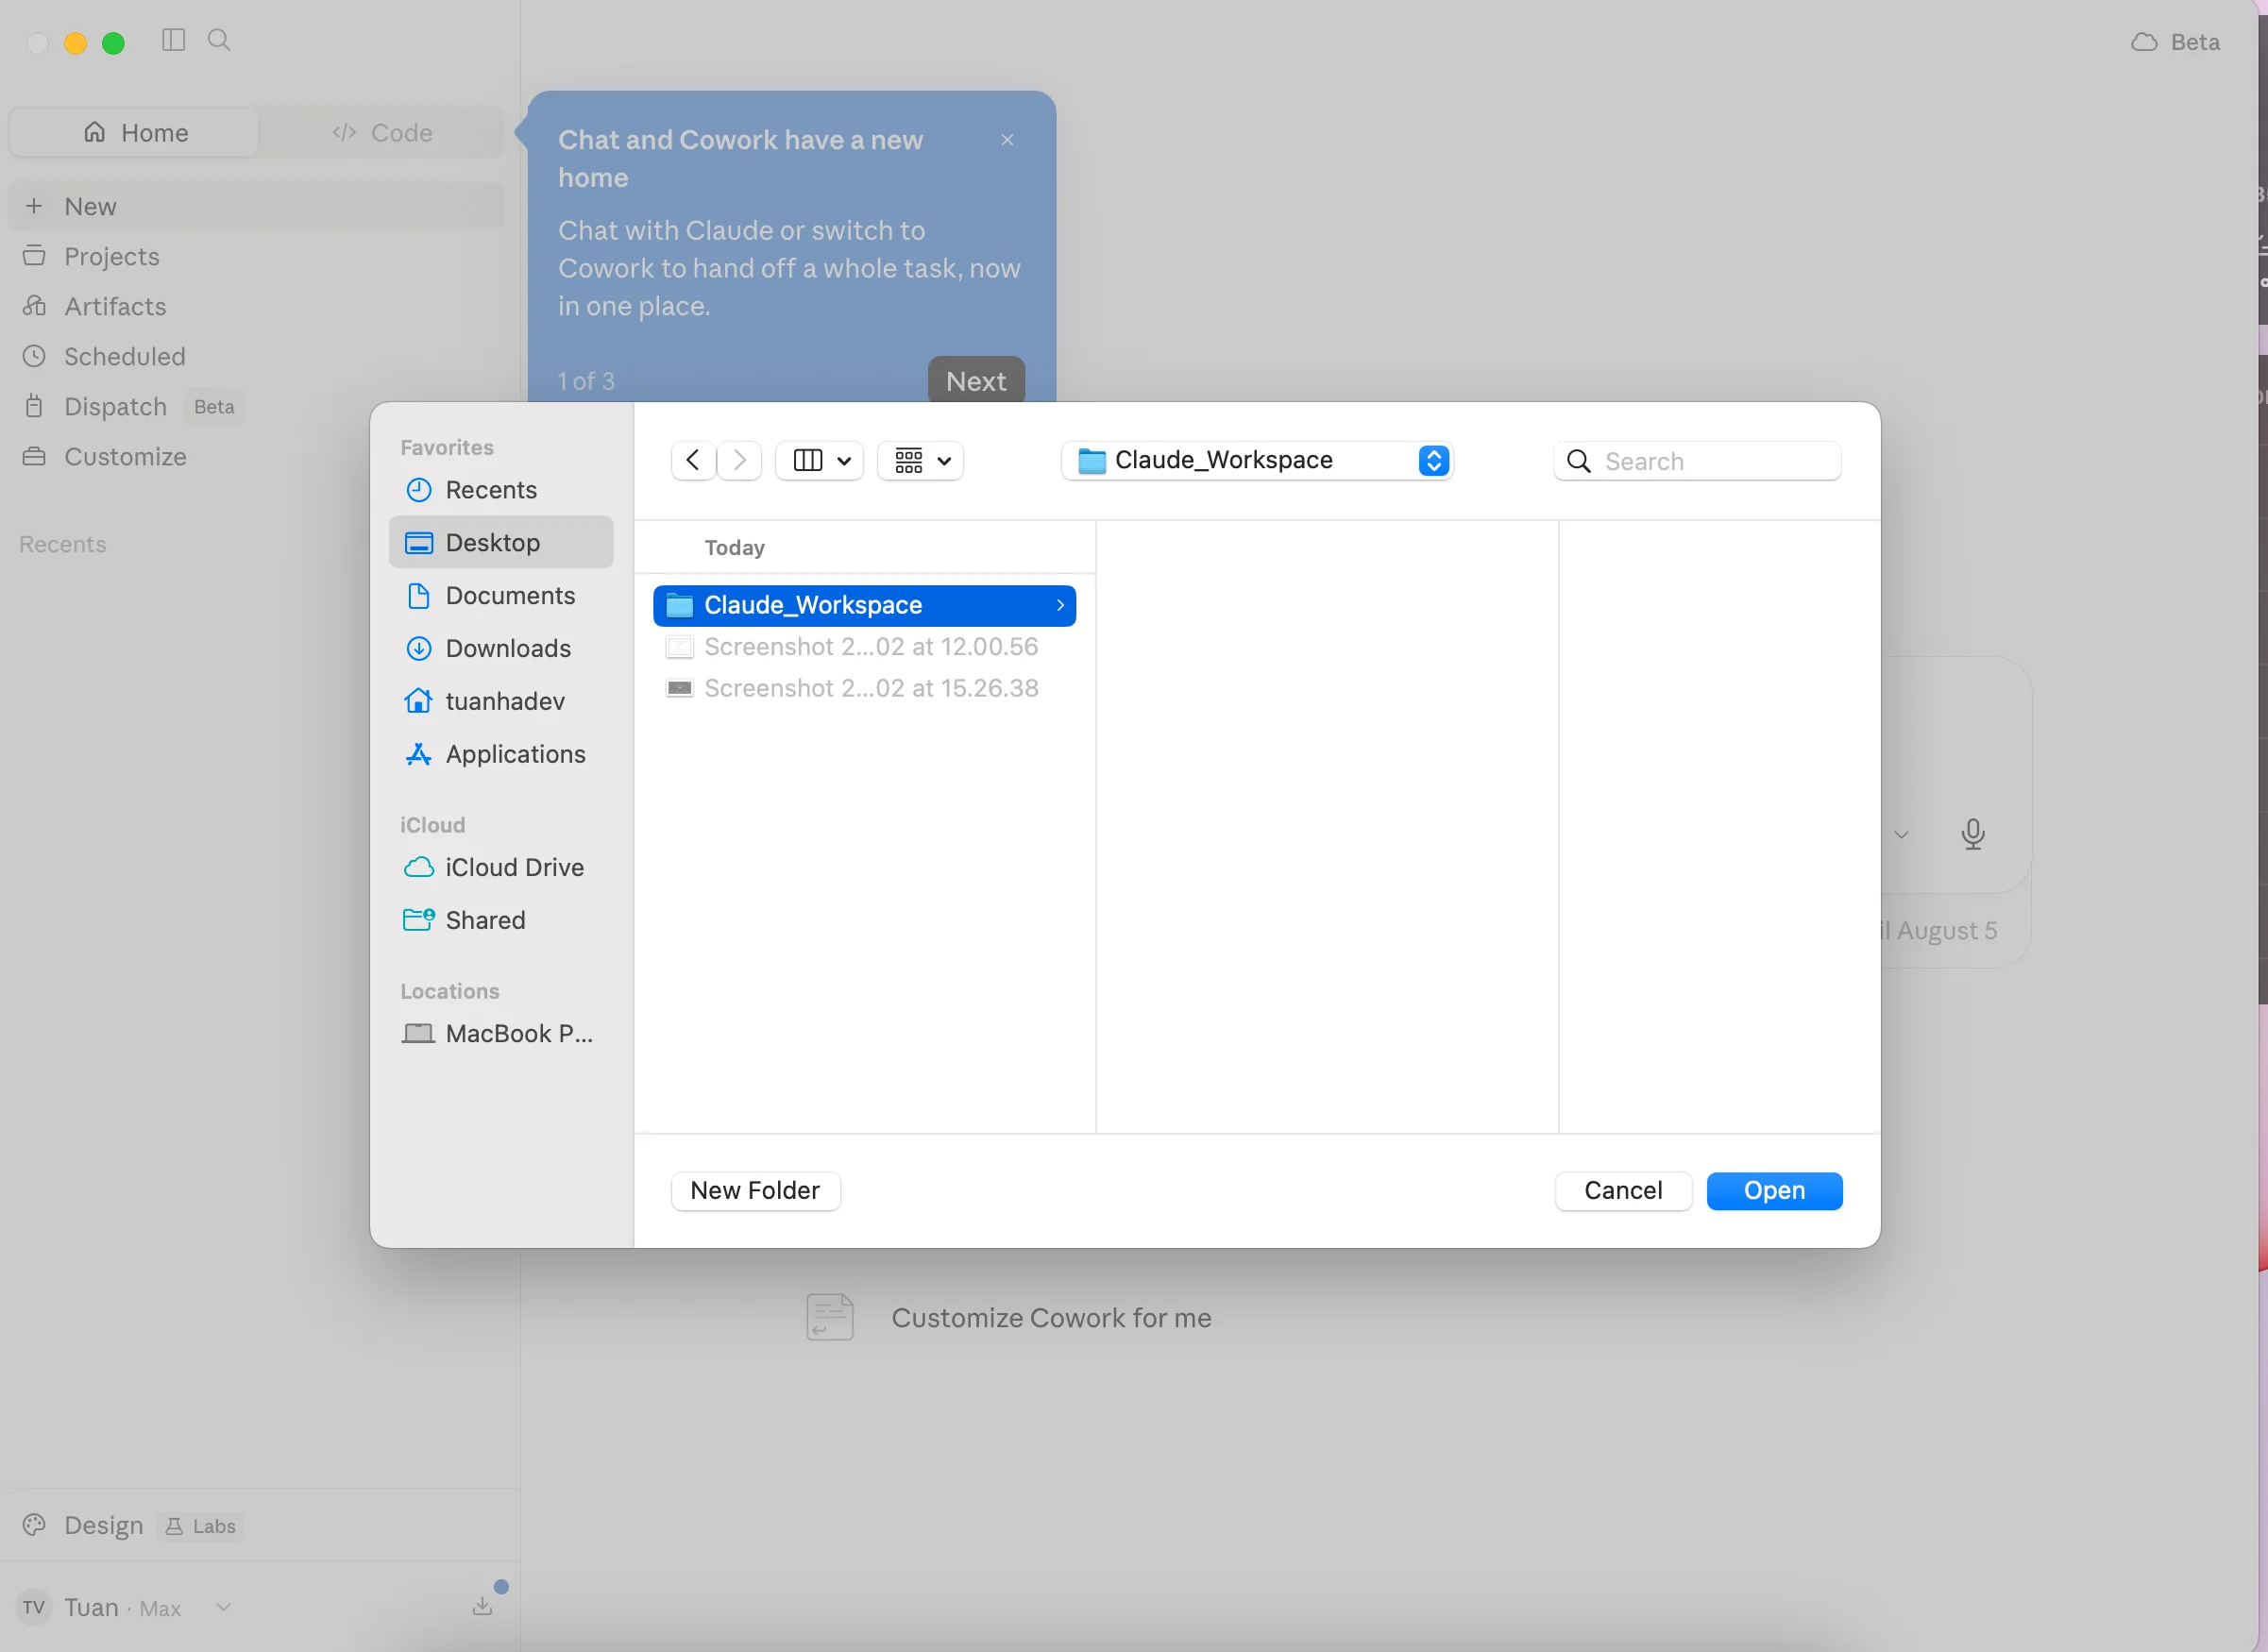
Step 4 — Create and connect a dedicated working folder
Create a new, empty folder on your machine for agentic tasks. Below the message box, click "Work in a project or folder" and point it at the folder you just made. A dedicated folder limits how far the agent can reach into your filesystem, a second layer of protection against sandbox escapes like the SharedRoot exploit.
Step 5 — Choose how Claude asks for approval
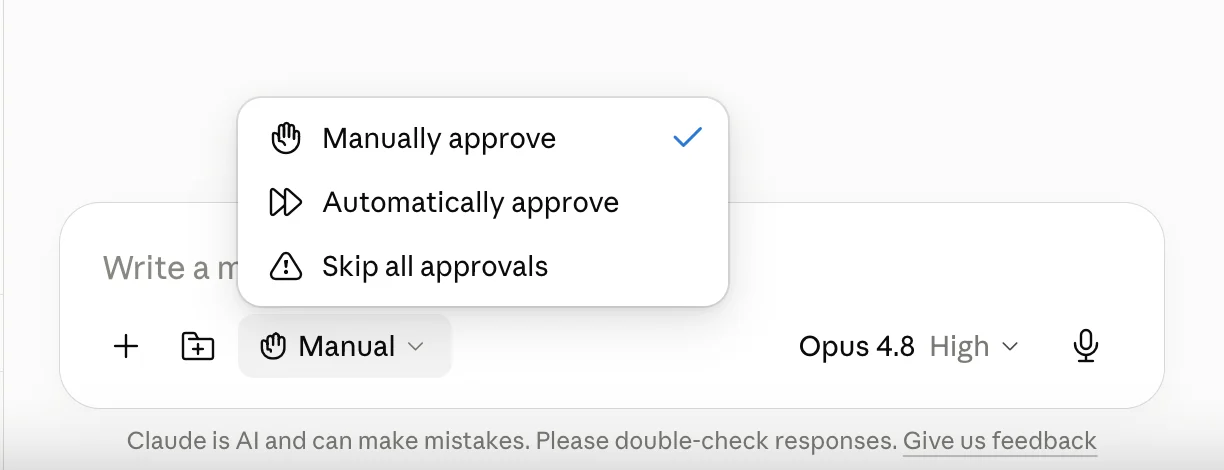
Set the approval mode with the selector next to the folder picker, which reads "Manual" by default. Claude always asks before it deletes a file, whatever mode you choose.
- Manual: Claude pauses and waits for approval before every action. Use this for sensitive files. I stay on Manual for the first few tasks, because watching Claude ask permission step by step is the fastest way to find out whether it read the instruction the way you meant it.
- Auto: Claude screens actions for safety and pauses only if an action is blocked or sensitive. Auto mode uses more of your usage limit than the other modes.
- Skip: Claude runs every action without stopping to ask.
Step 6 — Run your first Cowork task
Type a multi-step instruction into the Cowork message box. Try this prompt:
Organize my working folder by file type and date, then create a summary document of all PDF contents.Run it and watch the progress indicators — you should see Claude work through the sub-tasks and call the tools it needs, and it is worth watching that first run all the way through instead of switching away.
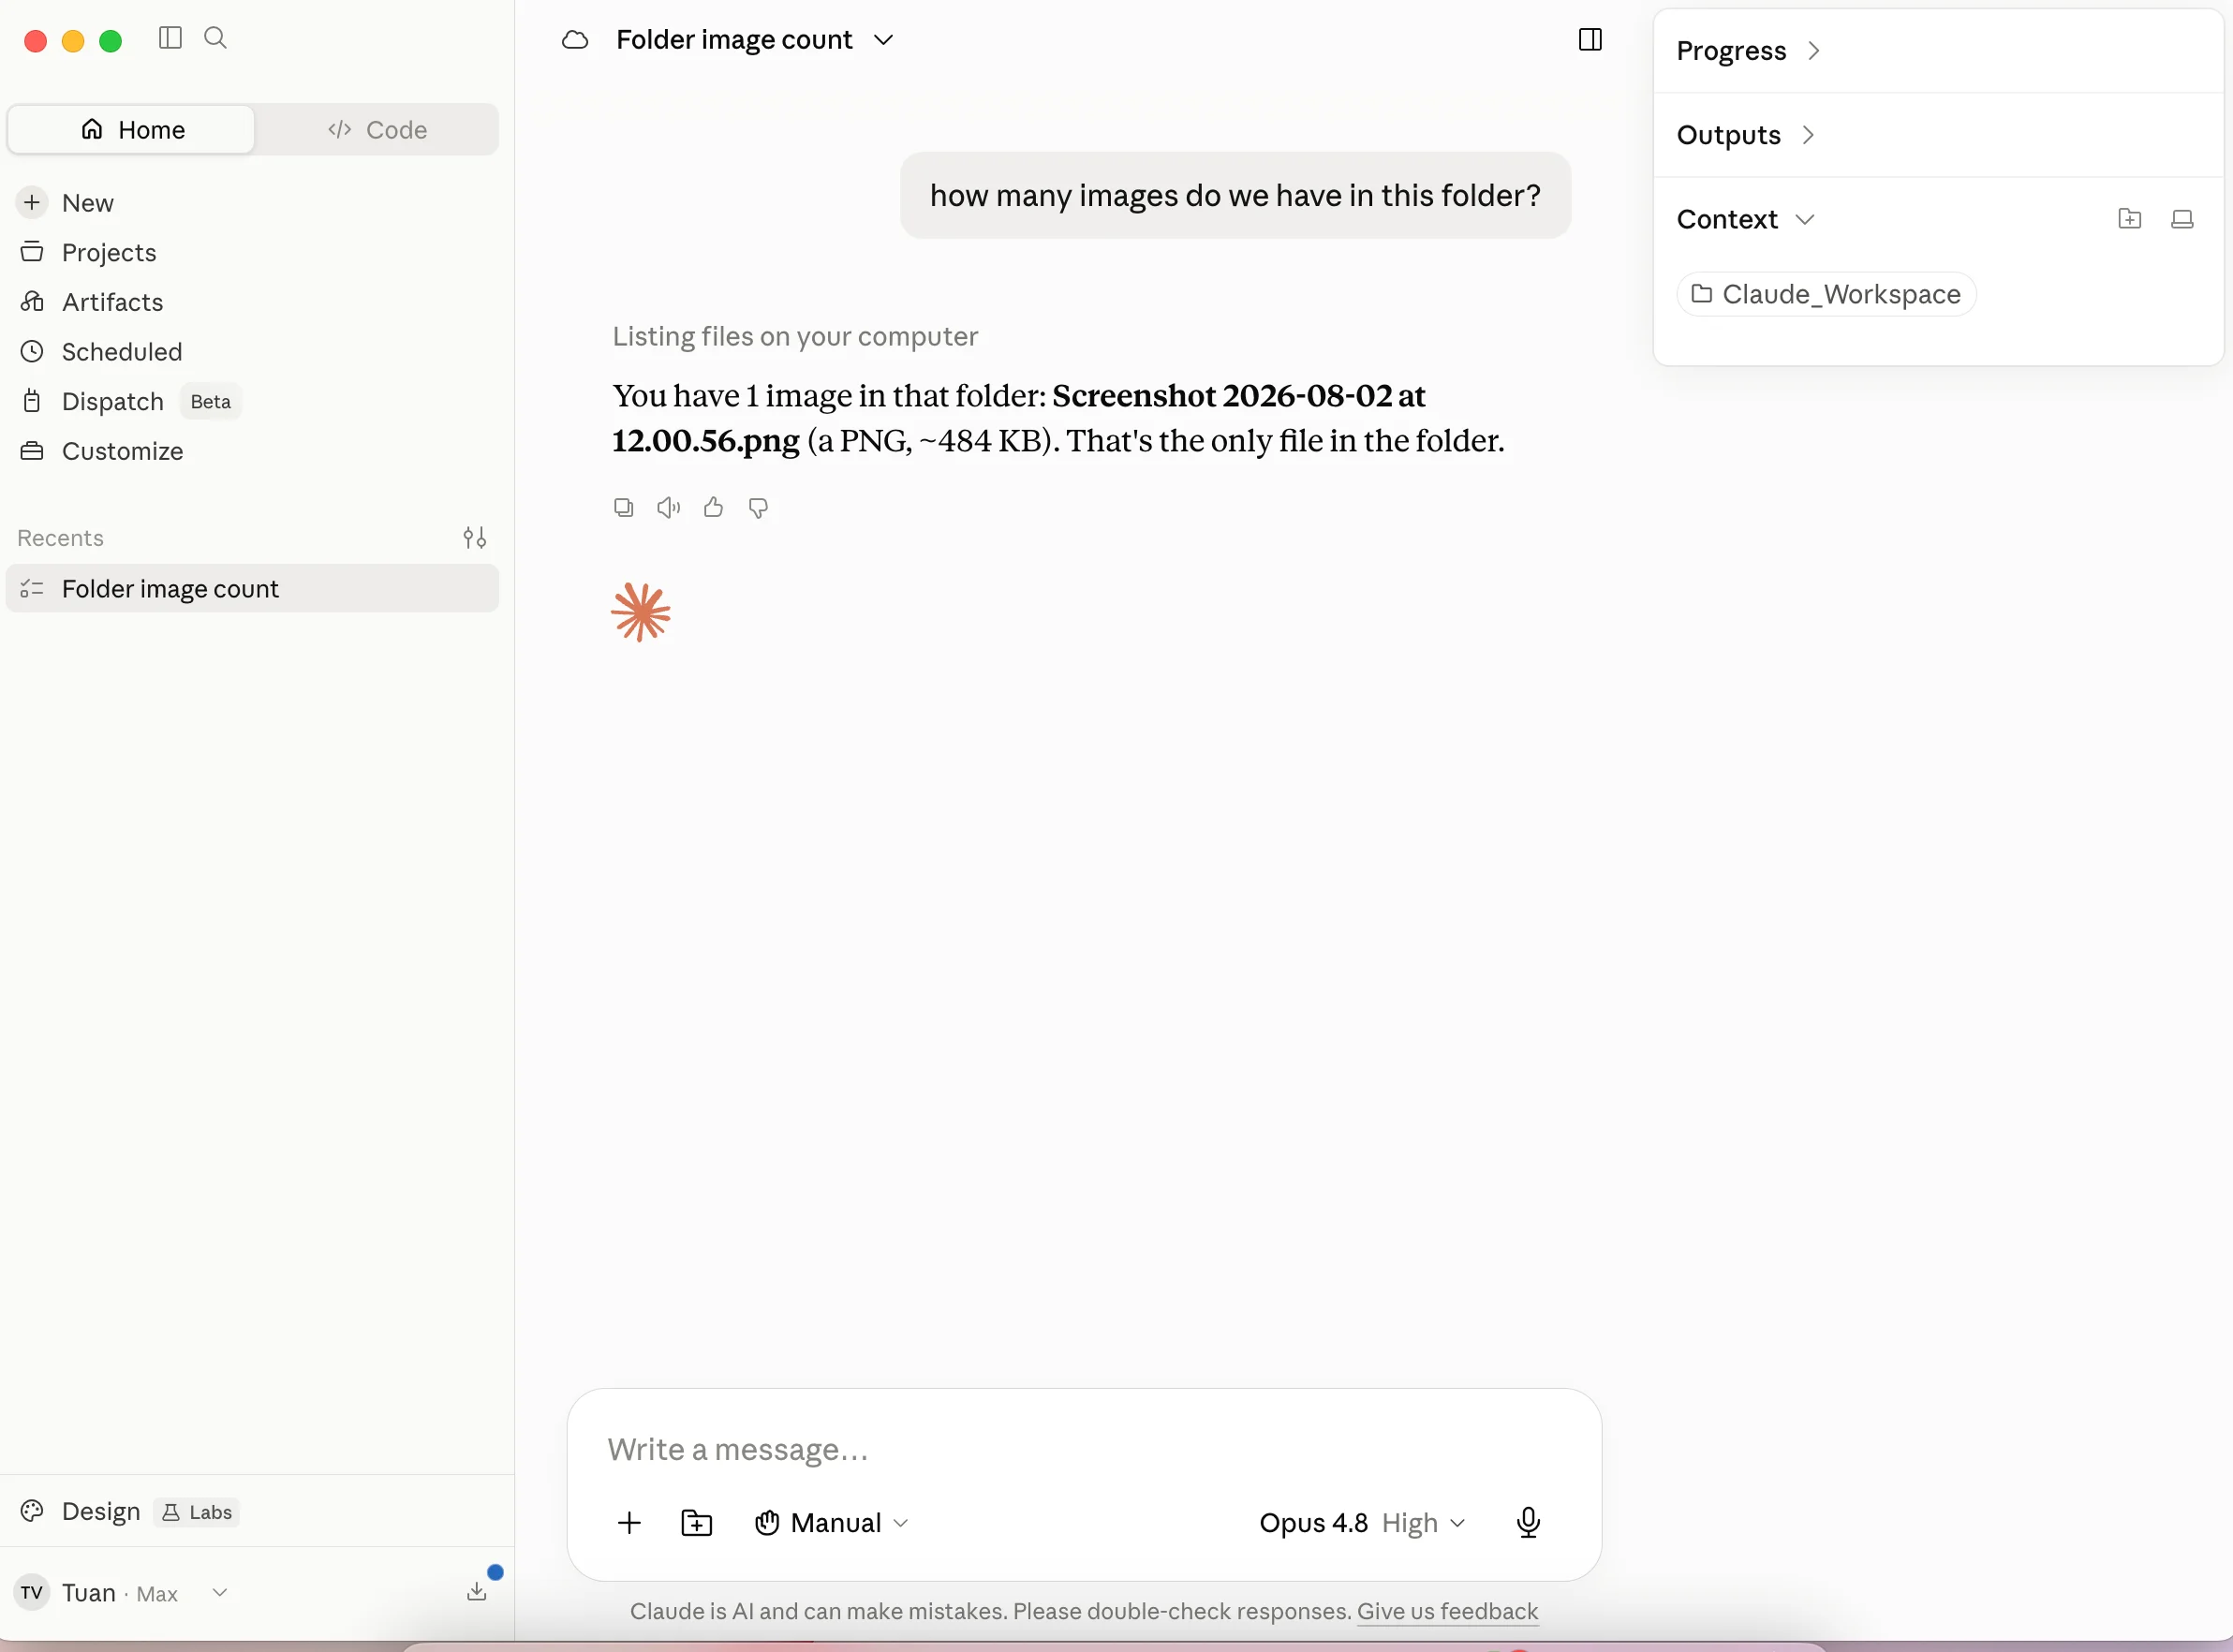
Where to run Cowork: desktop, web, or phone
| Platform | Best for | Capabilities |
|---|---|---|
| Desktop | Heavy work on local files | Full local file access, computer use, and browser automation. |
| Web | Remote task steering | Cloud-based execution, status monitoring, account synchronization. |
| Phone | Monitoring while away from a desk | Status updates, starting remote tasks, session management. |
Fixing common install problems
| Symptom | Possible cause | Fix |
|---|---|---|
| "Virtualization isn't available" (Linux) | KVM disabled in firmware | Enable hardware virtualization (KVM) in the UEFI/BIOS settings. |
| "Permission denied for virtualization" | User is not in the kvm group | Run sudo usermod -aG kvm $USER, then log out and back in. |
| No Cowork in the sidebar switcher | Free account, or rollout still in progress | Upgrade to a paid plan. Cowork is still rolling out gradually. |
What to do next
Open the "Scheduled" page in the sidebar and set up your first recurring task, so Cowork runs it on a schedule instead of waiting for you to start it each time.
References
- Get started with Claude Cowork — Claude Help Center
- Install Claude Desktop — Claude Help Center
- Use Claude Cowork safely — Claude Help Center
- Claude Cowork — Claude by Anthropic
- Claude Cowork for Windows: how to download and install the AI assistant — Tom's Guide
- Claude Cowork expands to mobile and web — TechCrunch
- First impressions of Claude Cowork, Anthropic's general agent — Simon Willison
- Claude Cowork escaped sandbox on Mac, gained full access to all files — 9to5Mac